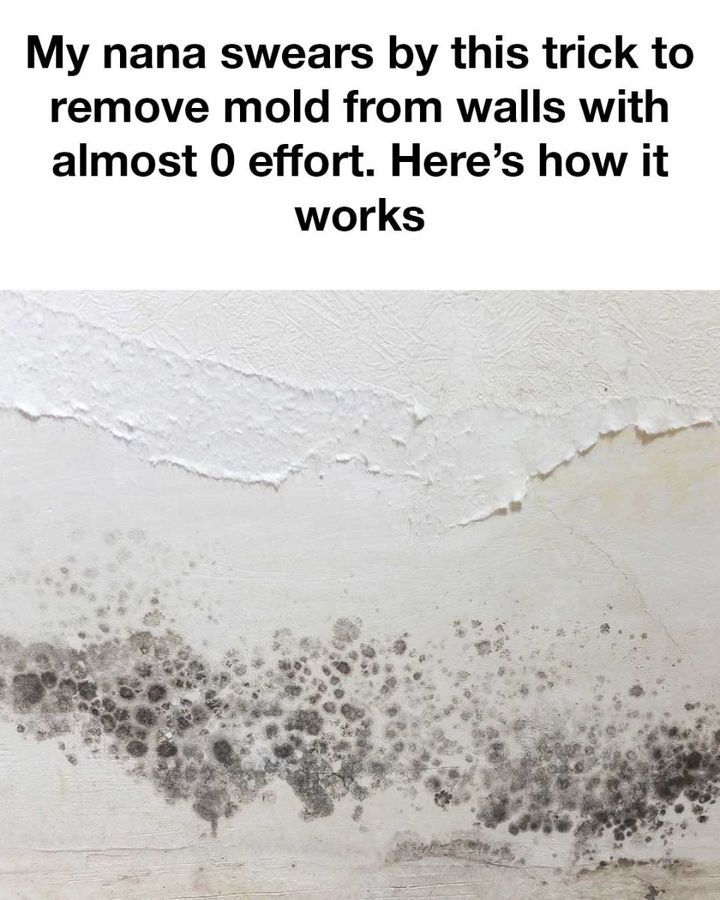
Preparing Your Walls for Cleaning
Before applying your mold removal solution, it’s important to prepare the area properly. Here’s how to get started:
- Ventilate the space: Open windows and doors to ensure good airflow in the room, which will help prevent mold spores from becoming airborne during cleaning.
- Mist the area: If the moldy area is particularly dry, lightly mist it with water using a spray bottle. This prevents spores from scattering and helps the solution penetrate the mold more effectively.
- Put on gloves: Although it’s not strictly necessary, it’s a good idea to wear protective gloves to avoid irritation from the vinegar.
Step-by-Step Guide to Removing Mold
- Make the cleaning solution: In a spray bottle, mix equal parts white vinegar and water. Shake well to combine. White vinegar is a natural disinfectant and mold killer that will work wonders on the affected areas.
- Apply the solution: Generously spray the affected area with the vinegar solution. Allow it to sit for about an hour. The vinegar will break down the mold, making it easier to remove.
- Tackle stubborn spots: For tougher mold, make a paste by mixing baking soda with a small amount of water in a bowl. Apply this paste to the moldy spots using a microfiber cloth or sponge. Give it time to sit—about 15-20 minutes—to help lift the mold without excessive scrubbing.
Safety Precautions
Although this method uses natural ingredients, there are still some important safety precautions to keep in mind:
- Ventilate the space well to avoid inhaling mold spores.
- Wear protective gloves to shield your skin from irritation, especially if you’re sensitive to vinegar.
- If you have respiratory issues or severe mold allergies, consider wearing a face mask to further protect yourself from inhaling mold spores during the cleaning process.
How Long to Let the Solution Sit
- Vinegar solution: Let the vinegar solution sit on the moldy area for at least an hour. This allows the vinegar to break down the mold at the root level.
- Baking soda paste: Leave the paste on the mold for about 15-20 minutes to give it time to lift the mold.
Wiping Down and Final Touches
Once the solution has had time to work, it’s time to wipe away the mold:
- Scrub gently: Use a clean microfiber cloth or sponge to gently scrub the walls, wiping away the loosened mold. Be sure to rinse the cloth or sponge frequently to avoid spreading mold spores around.
- Final wipe: After you’ve removed most of the mold, use a clean, damp cloth to wipe the area one more time to remove any leftover residue.
If stubborn spots remain, repeat the process as needed. The vinegar and baking soda should have weakened the mold enough to make it easy to scrub off.
Preventing Mold from Coming Back
Preventing mold from returning is just as important as removing it in the first place. Here are a few measures to keep mold at bay:
- Ventilate your home: Ensure that areas prone to dampness, such as bathrooms, kitchens, and basements, have proper ventilation. Open windows when possible, and use fans to improve airflow.
- Use a dehumidifier: A dehumidifier can help keep humidity levels in check, making your home less inviting for mold.
- Regularly clean and dry: Areas that are prone to moisture accumulation, such as shower stalls or windowsills, should be cleaned and dried regularly.
- Mold-resistant paint: When redecorating or painting, consider using mold-resistant paint to add an extra layer of protection.
Conclusion: A Hassle-Free Way to Mold-Free Walls
Mold on walls is a common and frustrating issue, but with this simple, natural trick my nana swears by, you can easily tackle it without the hassle. Using basic household ingredients like white vinegar and baking soda, you can remove mold effectively with minimal effort. This method is cost-efficient, safe, and provides a natural alternative to harsh chemicals. Plus, with a few preventive measures, you can enjoy mold-free walls for the long term. Give it a try and see just how easy mold removal can be!
